
Spring is the perfect time to start hand embroidery project. If you are new to hand embroidery, I suggest you start with a small project which can be completed in few minutes of sitting.
Step 2:
In this step, please see how the threat is wrapped to the needle

Step 3:
In this step, it is important to make the length of the thread wrap a little longer than the line to give u a little curvy shape

Step 4:
Repeat the same from step 1 to step 3 for each line

Step 5:
This is a trick to perform when you do step 3 in order to get the thread coil perfect. Slightly press the threat coil by the left thumb while your right hand pulls the needle though

Step 6:
It is good to start with 2 tiny parallel lines for the rose shape

Step 7:
Follow the same process for each petal or line

Step 8:
This is how the final rose will look like. Happy stitching...

The next tutorial is the leaf tutorial for this rose. Keep watching this page
Today I am sharing hoe to do Bullion rose embroidery, this is a great embroidery which is used widely in Brazilian embroidery.
If you have any trouble understanding the step, please drop a comment and I will write you back
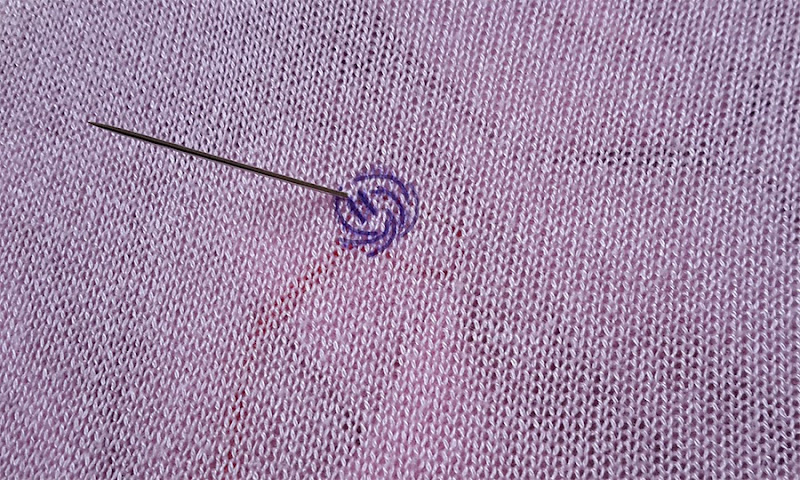
Step 1:
The first and foremost thing is to make short lines like the one in my image below to give you the shape of the rose. As you become experience, you will be able to do it even without making such diagram. However if you want to make similar roses, its always good to make one diagram on a transferable paper which can be reuse
The first and foremost thing is to make short lines like the one in my image below to give you the shape of the rose. As you become experience, you will be able to do it even without making such diagram. However if you want to make similar roses, its always good to make one diagram on a transferable paper which can be reuse

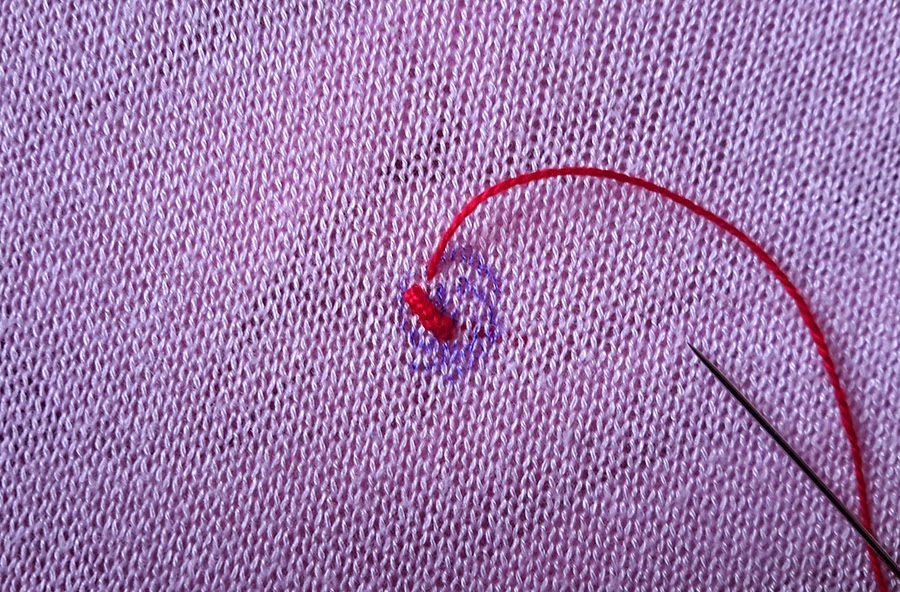
Step 2:
In this step, please see how the threat is wrapped to the needle

Step 3:
In this step, it is important to make the length of the thread wrap a little longer than the line to give u a little curvy shape

Step 4:
Repeat the same from step 1 to step 3 for each line
Step 5:
This is a trick to perform when you do step 3 in order to get the thread coil perfect. Slightly press the threat coil by the left thumb while your right hand pulls the needle though

Step 6:
It is good to start with 2 tiny parallel lines for the rose shape

Follow the same process for each petal or line

Step 8:

The next tutorial is the leaf tutorial for this rose. Keep watching this page
No comments:
Post a Comment